
Kubernetes Fundamentals
Introduction
In this comprehensive tutorial, we will explore the deployment of real-world applications on a Kubernetes cluster, focusing on the integration of key AWS services. Our goal is to demonstrate how Kubernetes can seamlessly work with cloud provider resources to create robust, scalable application environments.
Key Components
1. Kubernetes Cluster: We’ll utilize a pre-existing Kubernetes cluster. While our previous tutorials covered cluster setup on both CentOS 7 and Ubuntu 18.04, the principles and commands in this guide are OS-agnostic. For consistency, we’ll use our CentOS 7-based cluster for this demonstration.
2. AWS Services: Our deployment will leverage two core AWS services:
Objective
The primary aim of this tutorial is to showcase the seamless integration between Kubernetes and AWS services, highlighting how this combination can enhance application deployment, scalability, and persistence in real-world scenarios.
Prerequisites
- A functional Kubernetes cluster (as set up in our previous CentOS 7 or Ubuntu 18.04 guides)
- Basic familiarity with Kubernetes concepts and commands
- An AWS account with necessary permissions to create and manage EC2 instances and EFS
By the end of this tutorial, you will have gained practical experience in deploying applications on Kubernetes while leveraging the power and flexibility of AWS services. This knowledge is crucial for building scalable, cloud-native applications in production environments.
Let’s begin our journey into the world of Kubernetes and AWS integration.
Deploying Jenkins on the Kubernetes and integrating with AWS Services
What are real-world applications?
Real-world applications in the context of Kubernetes encompass any containerized software that can be deployed and managed within a Kubernetes cluster. From simple web services to complex distributed systems, these applications thrive within the orchestrated environment. In this tutorial, our focus turns to Jenkins, a widely adopted automation tool in the DevOps landscape.
What is Jenkins?
Jenkins, an open-source automation server, is written in Java and serves as a linchpin for Continuous Integration and Continuous Delivery/Deployment (CI/CD) processes. Its versatility and extensive plugin ecosystem make it indispensable in modern DevOps practices.
Key Features and Capabilities of Jenkins
1. Continuous Integration and Delivery:
- Facilitates frequent code integration into shared repositories.
- Automates building and testing of software projects.
- Ensures fresh builds are readily available for users.
2. Extensibility:
- Supports a vast array of plugins, seamlessly integrating with various tools and technologies.
- Customizable to fit diverse development and deployment workflows.
3. Process Automation:
- Orchestrates the entire development lifecycle: build, documentation, testing, packaging, staging, deployment, and static analysis.
- Implements robust pipelines for efficient code integration and deployment.
4. Real-time Monitoring and Reporting:
- Provides immediate feedback on build and test results.
- Detects defects early in the codebase.
5. Flexible Deployment:
- Deploys to diverse environments, including containers, virtual machines, bare metal servers, and cloud platforms.
6. Community and Ecosystem:
- Thrives on a strong, active community contributing to development and support.
- Offers comprehensive knowledge base and extensive documentation.
By deploying Jenkins on Kubernetes, organizations unlock the potential of containerization and orchestration, enhancing their CI/CD workflows. This powerful combination ensures scalability, efficiency, and resilience—a must in today’s dynamic software development landscape.
In the upcoming sections, we’ll guide you through containerizing and deploying Jenkins within a Kubernetes cluster. Let’s dive in!
Deploying Jenkins on Kubernetes: Best Practices
Overview
Kubernetes simplifies the deployment of applications like Jenkins by using containerized units called “pods.” To achieve robust and consistent deployments, we rely on declarative YAML configurations.
Key Components
1. YAML Manifests:
- Human-readable files defining pod specifications, services, and deployments.
- Ensures reproducible setups.
2. Kubernetes Services:
- Manages pod communication.
- Defines network policies (e.g., ClusterIP, NodePort, LoadBalancer).
3. Persistent Storage:
- PV (Persistent Volume): Abstracts storage resources (e.g., AWS EFS).
- PVC (Persistent Volume Claim): Requests storage from available PVs.
Jenkins Deployment
1. YAML Files:
- Separate files for PV, PVC, deployment, and service.
- Modular approach for easier management.
2. Deployment Strategy:
- Deploy Jenkins as one or more pods.
- Distribute pods across worker nodes for high availability.
- Pods communicate via Kubernetes services.
- Data persistence managed through PV and PVC (AWS EFS).
Benefits
1. Scalability:
- Adjust the number of Jenkins pods as needed.
2. High Availability:
- Distribute pods across nodes or availability zones.
3. Data Persistence:
- Ensure data integrity using AWS EFS.
4. Flexibility:
- Separate configuration files for streamlined management.
By leveraging Kubernetes and AWS services, we create a reliable, scalable Jenkins deployment suitable for production environments.
How to deploy a Jenkins application on a Kubernetes Cluster?
Prerequisites and Setup
When deploying Jenkins on Kubernetes, consider the following scenarios:
1. WordPress Deployment Exists:
- If you’ve previously deployed WordPress on the same Kubernetes cluster, you can extend it to include Jenkins.
- Ensure proper resource allocation and monitor CPU, RAM, and service ports.
2. Standalone Jenkins Deployment:
- If you’re deploying Jenkins independently (without WordPress), follow the steps below.
Step 1: Pre-requisites and Infrastructure
1. EC2 Instances:
- Launch CentOS-7 Master and Worker nodes (e.g., “t3a.small” with 2 vCPUs and 2 GB RAM each).
- Use the AMIs created in a previous article.
2. EFS Storages:
- Create two EFS storages:
- “config-files” for Kubernetes configuration files.
- “data-files” for WordPress deployment data.
- Mount them on separate directories.
3. User Setup:
- Log in to instances as the “jenkins” user (created during pre-requisites and CentOS-7 installation).
- Follow setup steps from relevant blog posts.
4. Kubernetes Deployment:
- Deploy pods from the Master node to Worker nodes.
- Avoid deploying pods on the Master node (except for essential Kubernetes components).
Remember, persistent volumes (PVs) ensure data integrity, even in production environments.
Step 2: Master Node Setup
Follow these steps on the Master node to set up Jenkins:
1. Login as “jenkins” User:
- Log in to the Master Node as the “jenkins” user.
2. Create a Directory:
- Create a directory (e.g., “jenkins-cfg”) to store Kubernetes configuration files.
3. Mount EFS for Config Files:
- Mount the EFS (created for config files) to the “jenkins-cfg” directory.
- Use the command provided in the AWS EFS console.
- Example:
sudo mount -t nfs4 -o nfsvers=4.1,rsize=1048576,wsize=1048576,hard,timeo=600,retrans=2,noresvport fs-011a40c8f24e5b94d.efs.ap-south-1.amazonaws.com:/ /home/jenkins/jenkins-cfg
4. Verify Mount:
- Check if the EFS is mounted correctly:
df -k
5. Download Jenkins YAML Files:
- Navigate to the “jenkins-cfg” directory.
- Install Git (if not already installed):
sudo yum install -y git
- Clone the Jenkins YAML files from GitHub:
git clone https://github.com/AvangelsTech/simple-jenkins.git .
Now proceed to set up the Worker node for Jenkins data files.
Step 3: Setting Up Worker Node for Jenkins Data Files
1. Login to Worker Node:
- Log in to the Worker Node as the “jenkins” user.
2. Create a Directory:
- Create a directory (e.g., “jenkins-data”) to store Jenkins data files.
3. Mount EFS for Data Files:
- Mount the EFS (created for Jenkins data files) to the “jenkins-data” directory.
- Use the command provided in the AWS EFS console.
- Example:
sudo mount -t nfs4 -o nfsvers=4.1,rsize=1048576,wsize=1048576,hard,timeo=600,retrans=2,noresvport fs-09b70567fe353b9f6.efs.ap-south-1.amazonaws.com:/ /home/jenkins/jenkins-data
4. Verify Mount:
- Confirm that the EFS is correctly mounted:
df -k
The directory setup on both the Master node and Worker node is now complete. Feel free to proceed with your Jenkins deployment.
Step 4: Deploying Jenkins Pod on Master Node
1. Login to Master Node:
- Log in to the Master Node as the “jenkins” user.
2. Container Image:
- In our YAML files, we specify the container image as “jenkins/jenkins.”
- If the image doesn’t exist on your nodes, it will be downloaded from hub.docker.com.
- The downloaded image will be reused each time the pod starts or stops.
3. Deployment:
- Navigate to the “jenkins-cfg” directory:
cd ~/jenkins-cfg
- Create the Jenkins pod and necessary services:
kubectl create -f jenkins-cfg/
4. Verification:
- Check the output to ensure everything is set up correctly.
Feel free to proceed with the next steps.
If everything is OK, you should see an output like below:
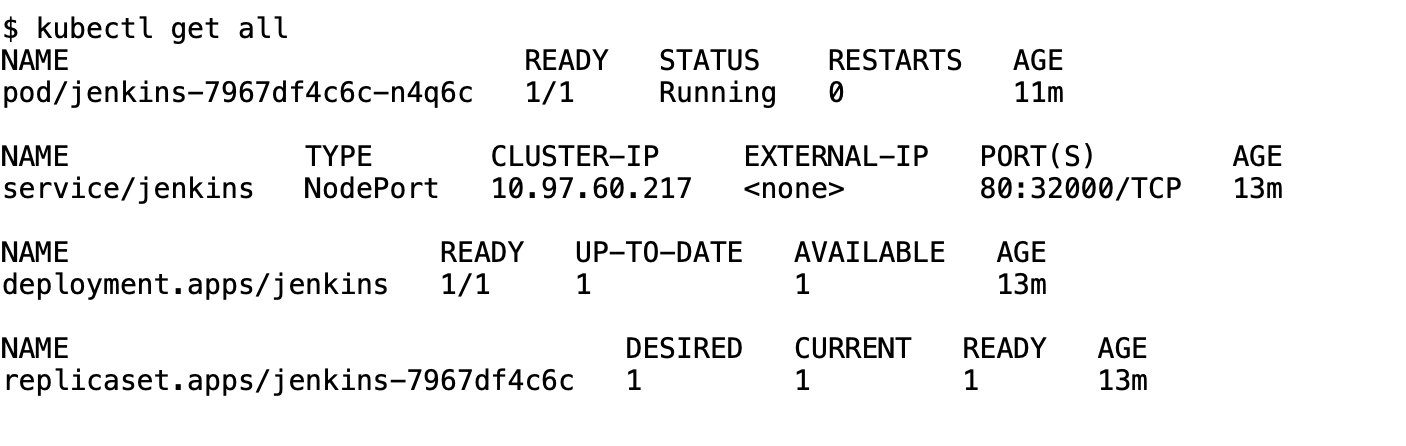
The above output indicates that Jenkins is successfully deployed on the Kubernetes cluster.
Step 5: Accessing Jenkins Application
1. Get Worker Node Public IP:
- Retrieve the public IP address of the Worker Node from the EC2 console.
2. Access via Web Browser:
- Open any web browser.
- Enter the following URL, replacing
<public-ip-address-worker-node>with the actual IP:http://<public-ip-address-worker-node>:32000/
- Port 32000 corresponds to the NodePort for the Jenkins service, as mentioned in the jenkins-service YAML file.
Now you can access Jenkins from the external world or the internet using this URL.
You should see the below “jenkins” login screen.
Step 6: Logging into Jenkins and Installing Plugins
1. Login to Master Node:
Log in to the Master Node as the “jenkins” user.
2. Retrieve Pod Name:
Use the following command to view deployed Jenkins pods:
kubectl get allNote the name of the “jenkins” pod.
3. View Pod Logs:
Retrieve the administrator password from the logs:
kubectl logs -f jenkins-7967df4c6c-n4q6cThe password will be displayed in the logs.
4. Proceed to Installation:
Access Jenkins via a web browser.
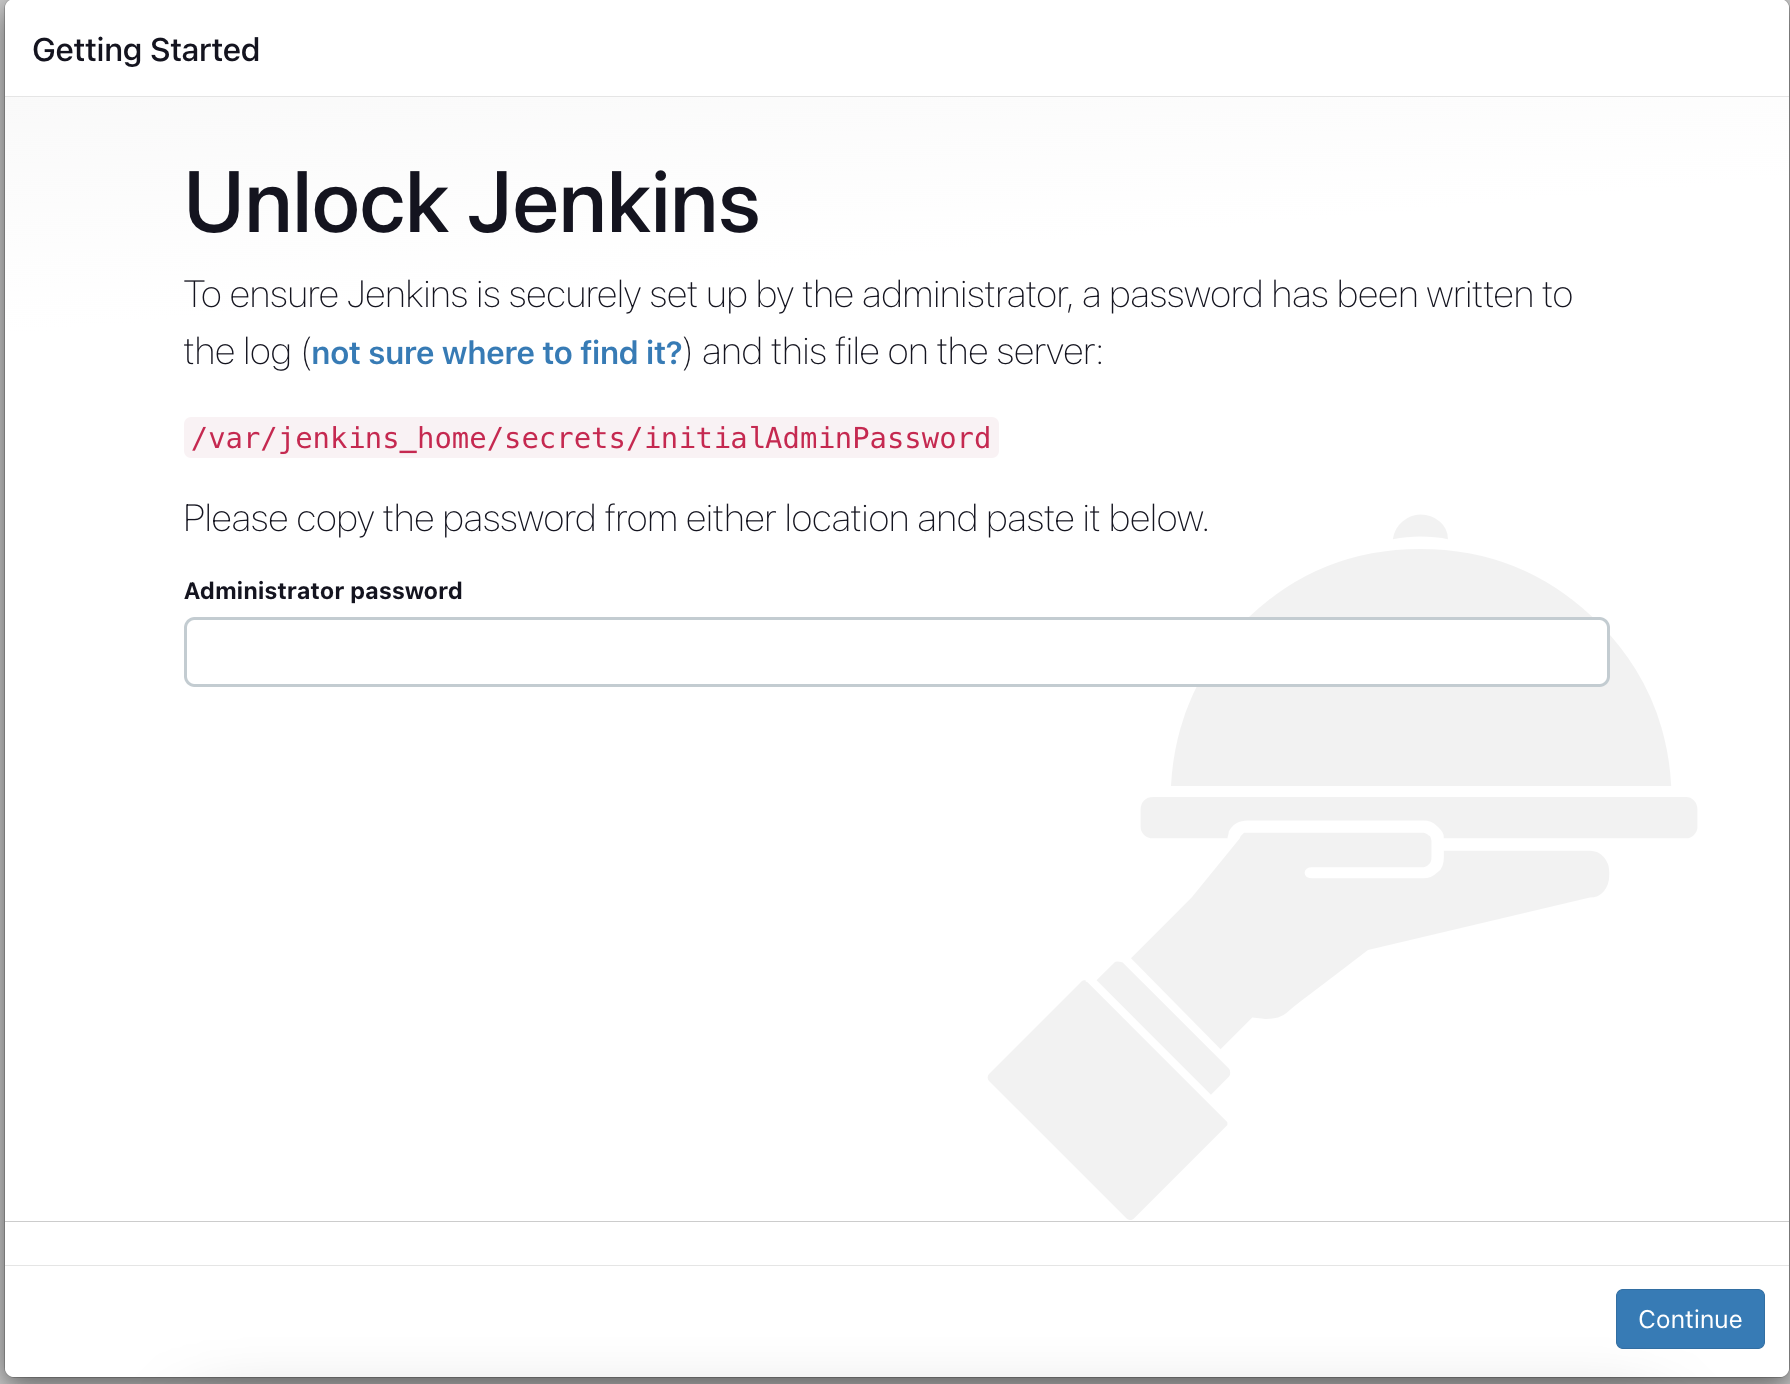
Use the provided password during initial setup.
The password can also be found at:
/var/jenkins_home/secrets/initialAdminPassword.
Remember to use the correct password when logging in.
Enter the password in the below login screen. (NOTE: When you check your logs, you will find a different password from the one mentioned in this example)
Once the password is entered, press “Continue” to go to the next screen.
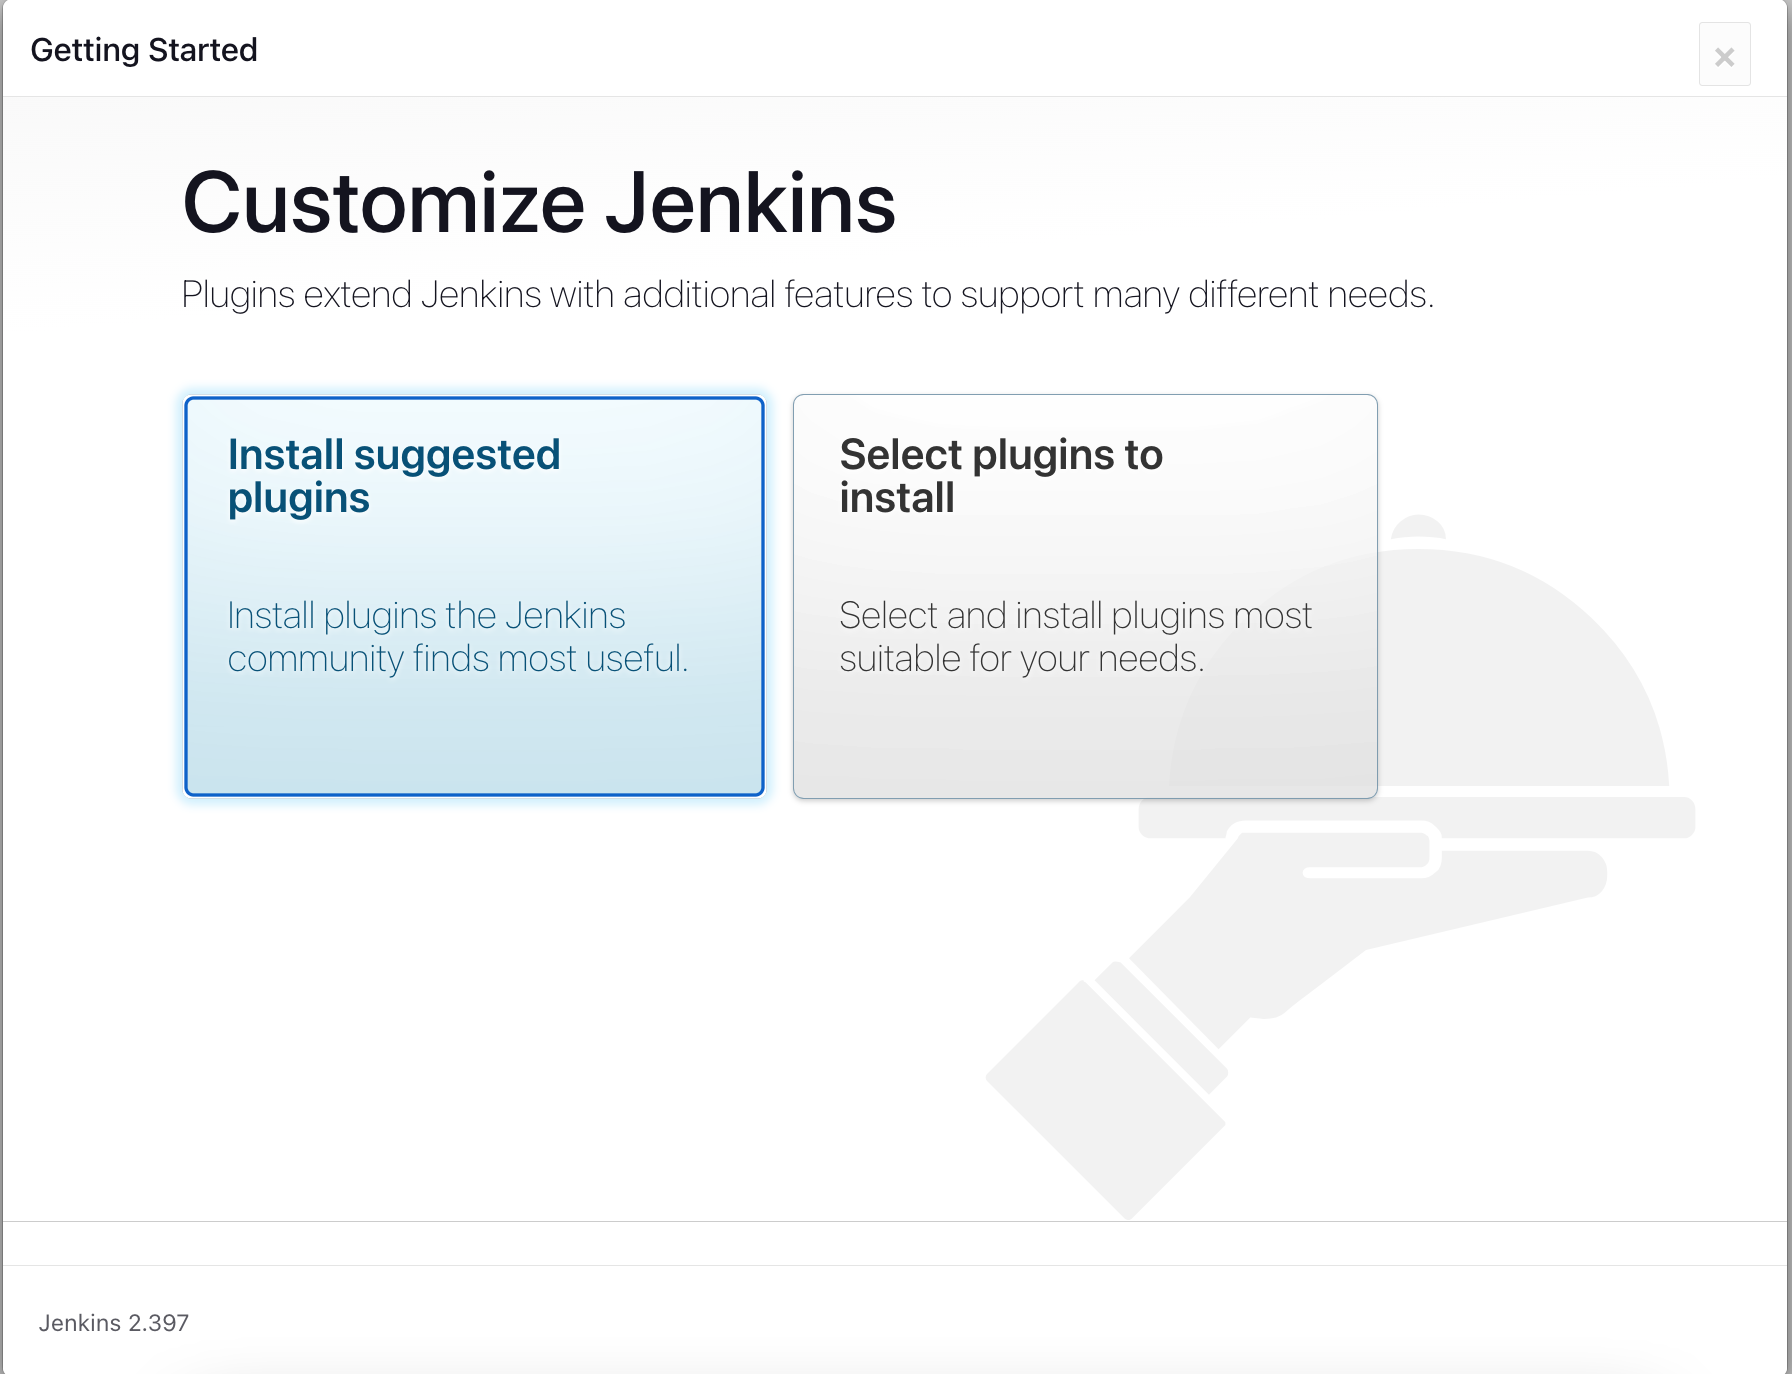
Press the “Install suggested plugins” which will install all the default plugins.
You should see the below screen while the plugin installation is going on:
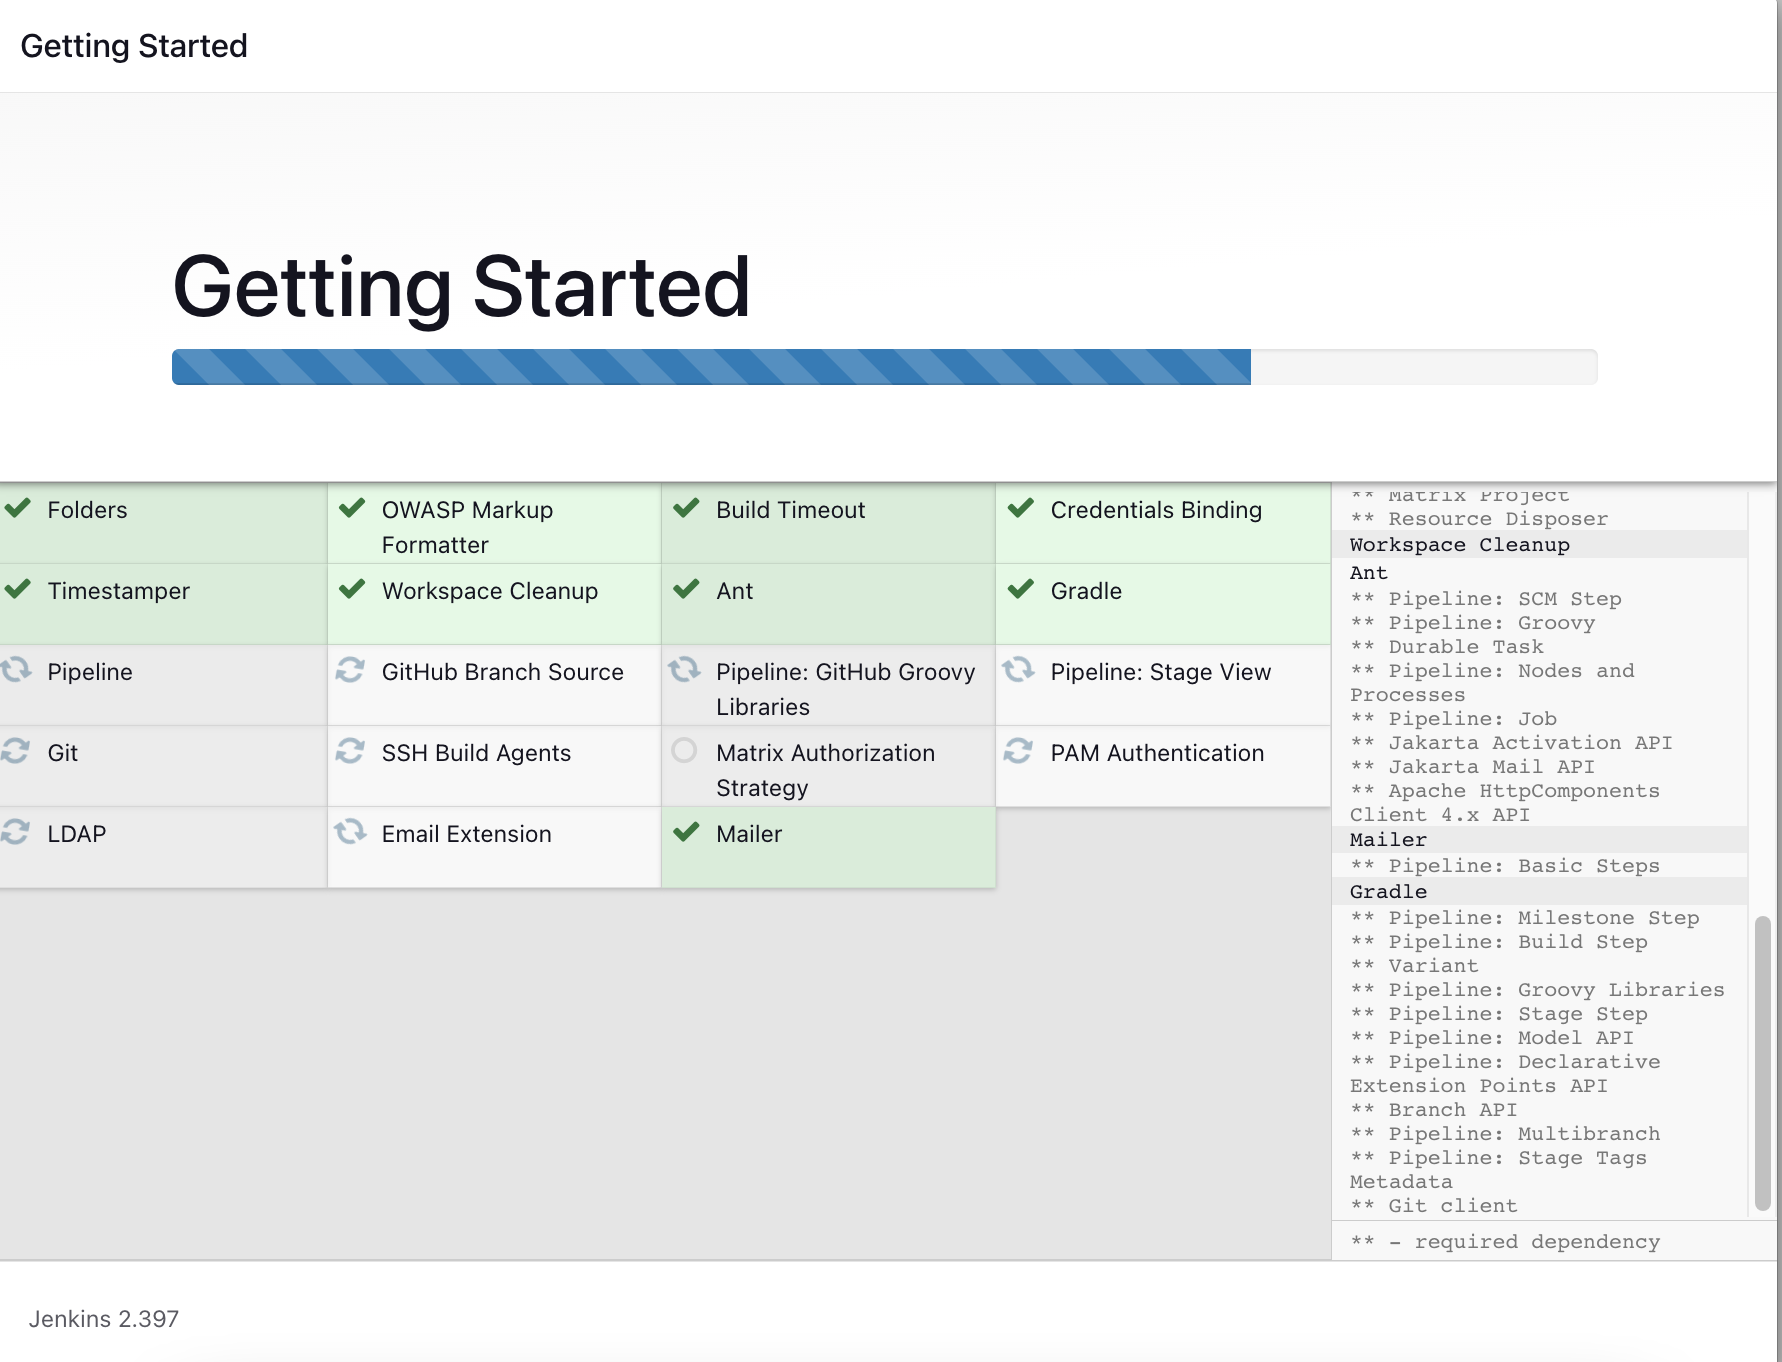
Once the plugins are installed, it will automatically go to the “Create First Admin User” screen for setting the Administrator details. You can enter the below details or put in your admin username and password.
Username = admin
Password = admin
Confirm password = admin
Full name = Admin
Email = abc@abc.com
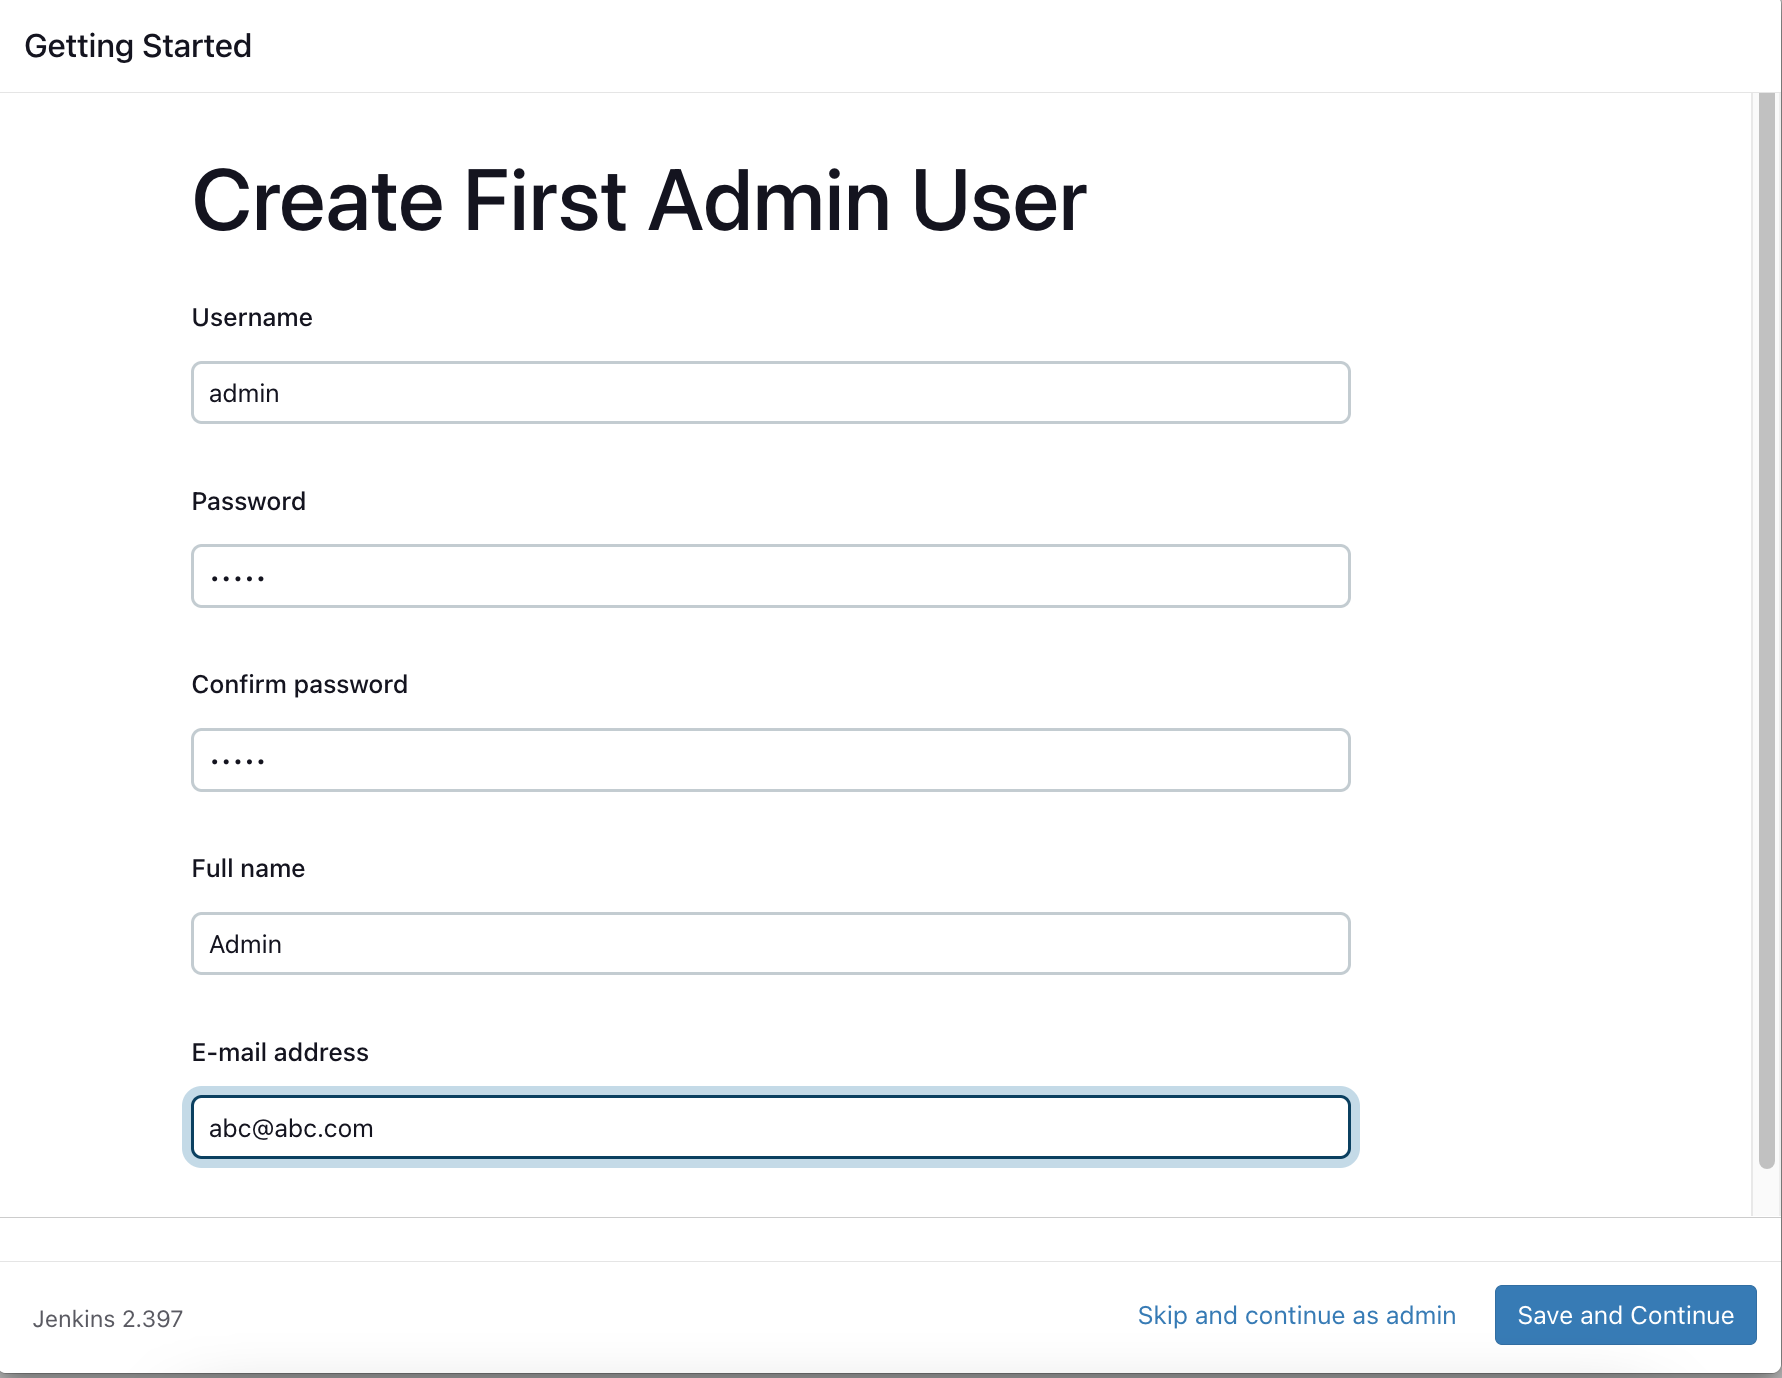
Once you enter all the details, “Save and Continue” to the next screen.
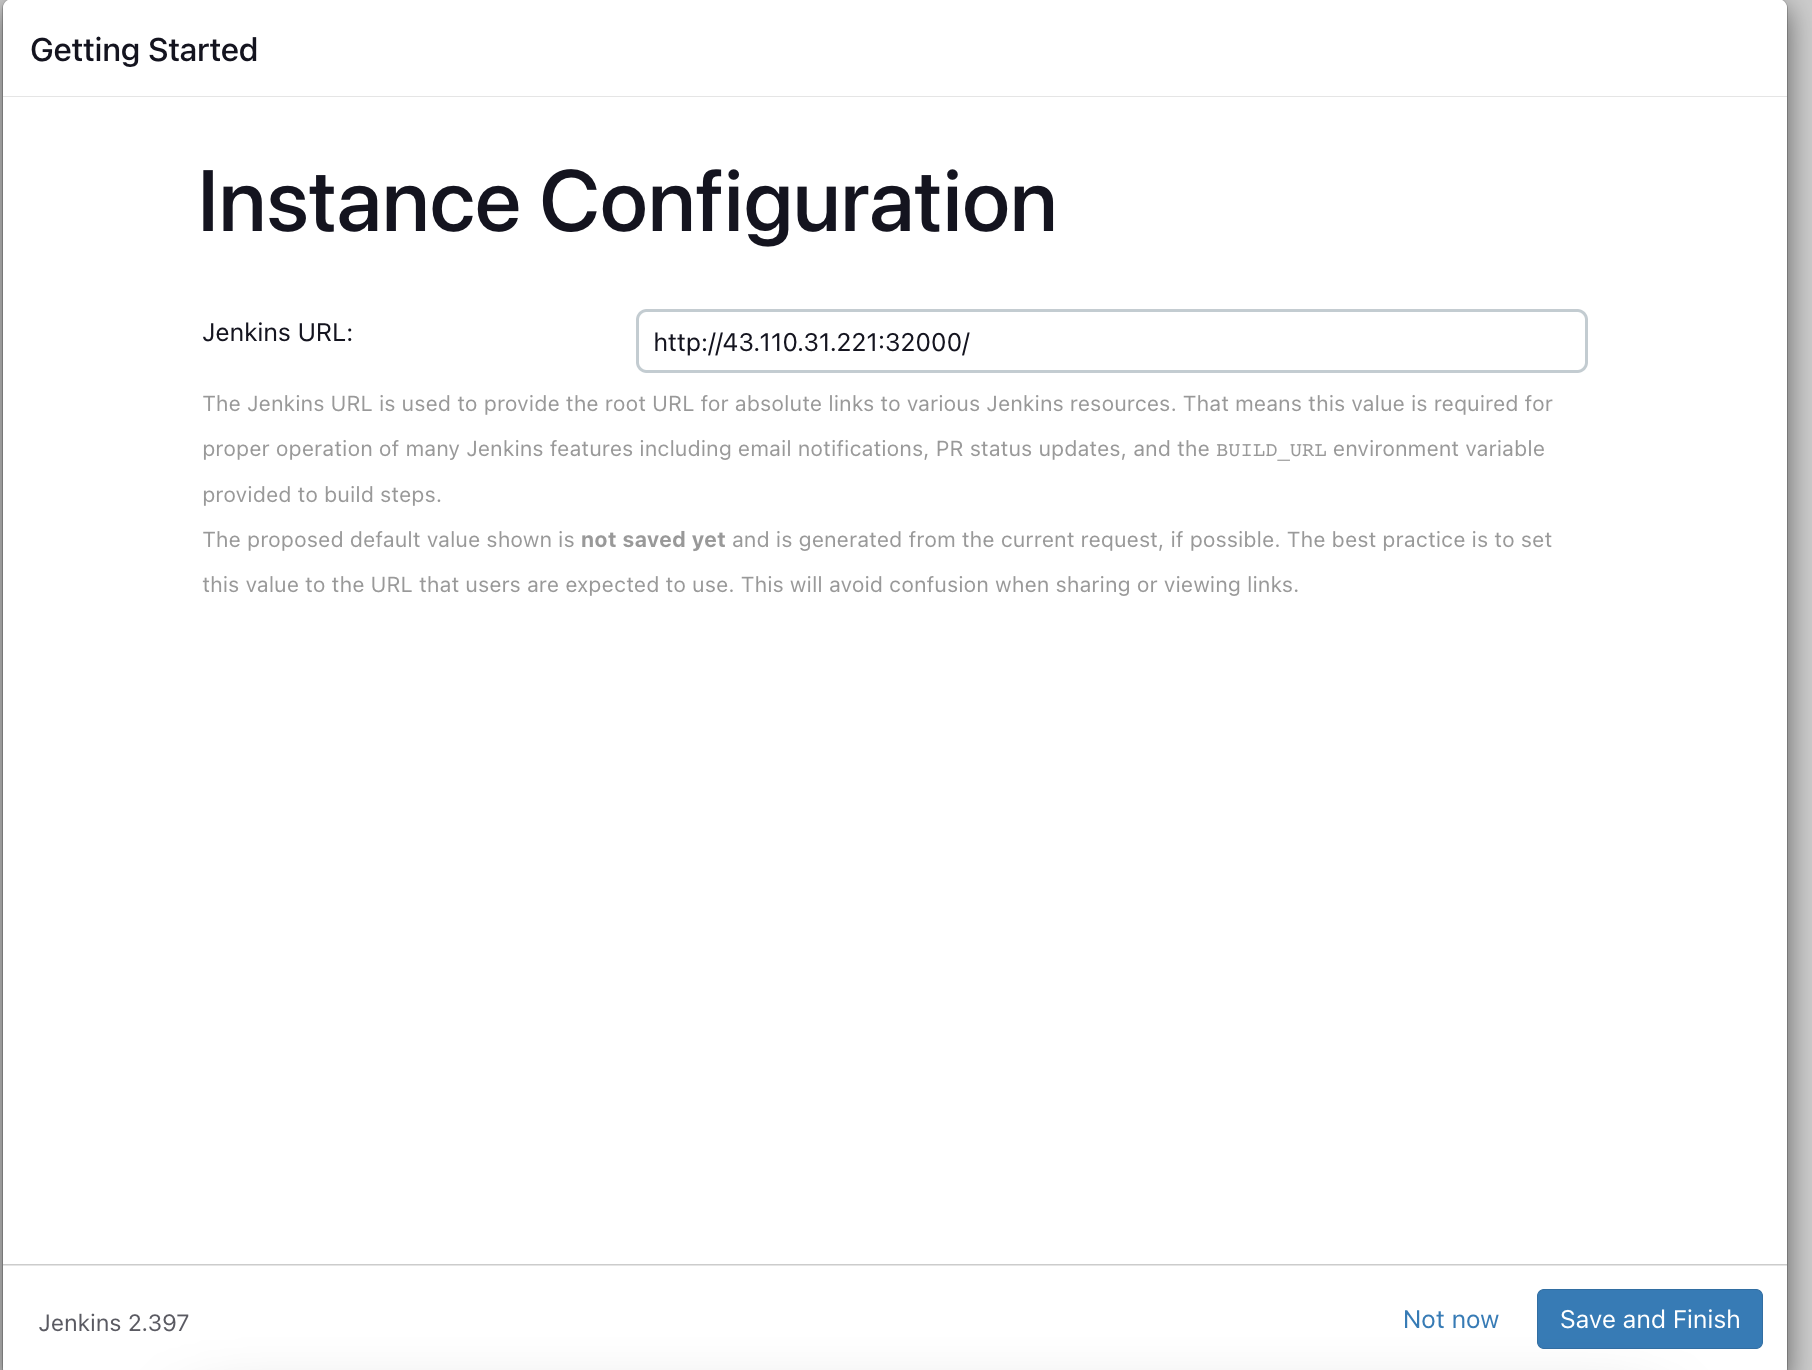
This is the same URL and port number which we have entered in the web browser.
Click “Save and Finish“. You should see the below screen.
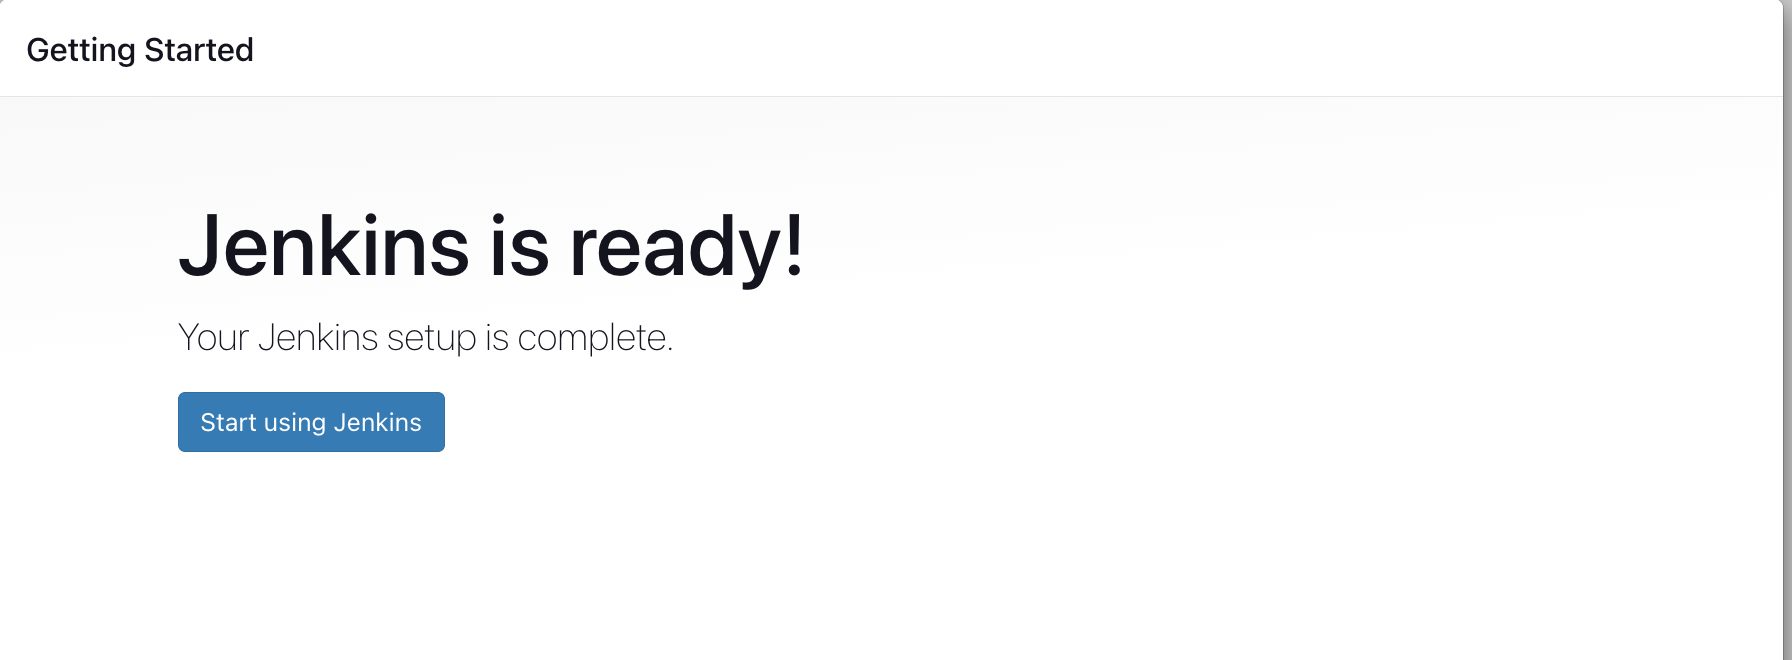
Click on “Start using Jenkins”. It will bring you the Jenkins Dashboard.
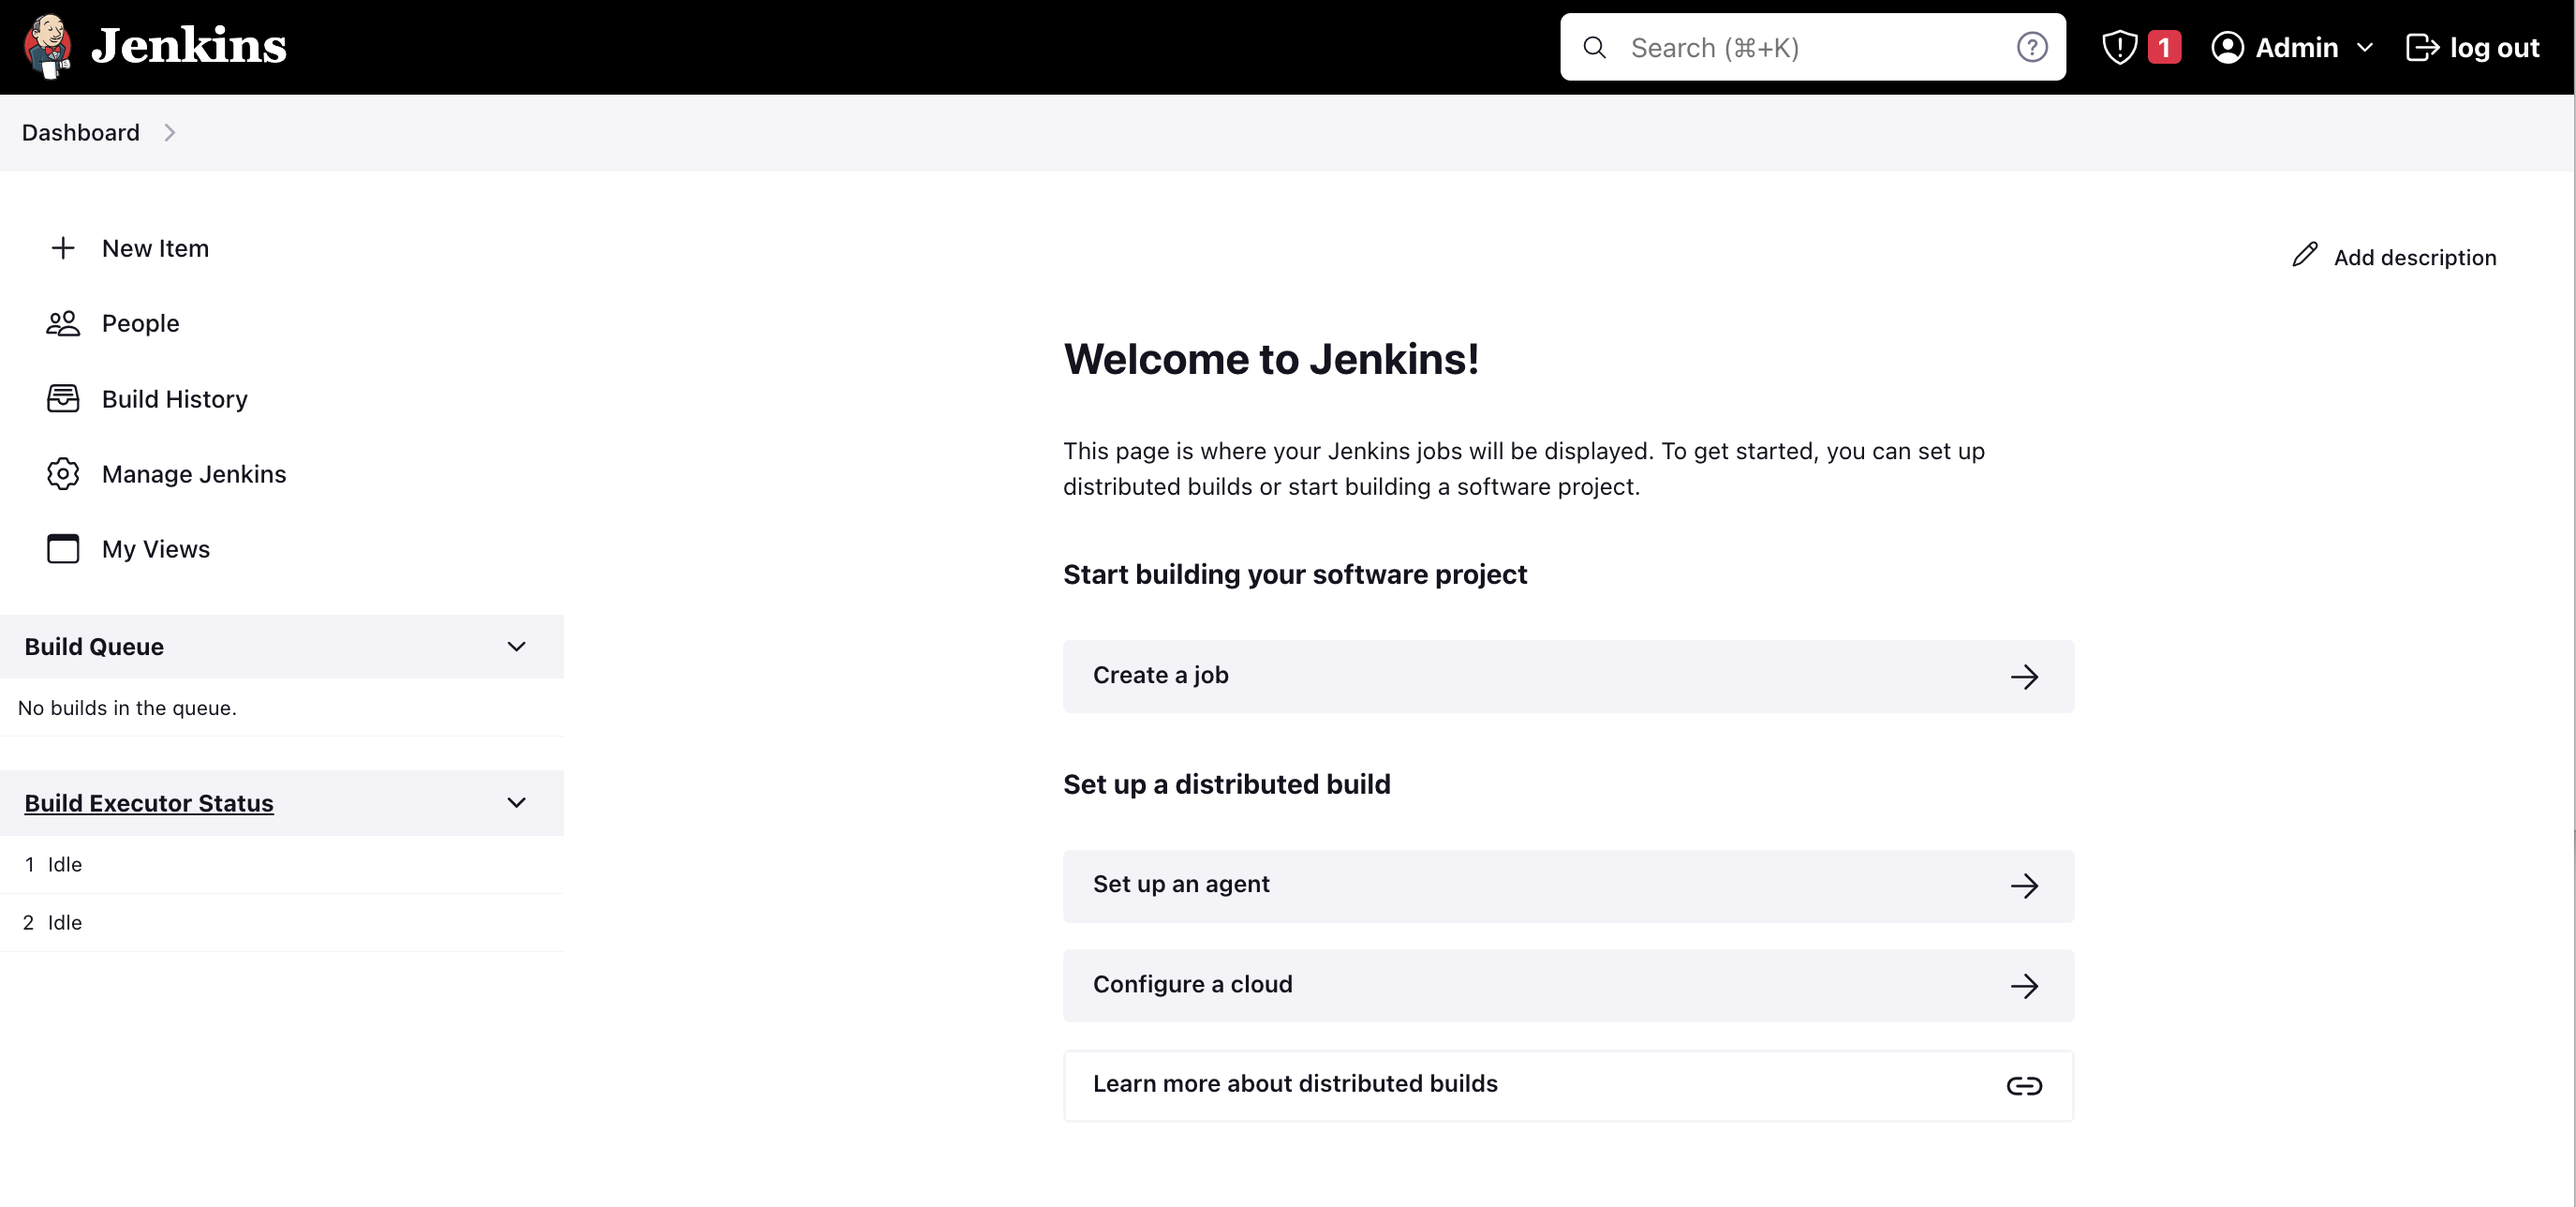
This completes the installation of Jenkins on a Kubernetes cluster.
Congratulations!
You’ve successfully deployed Jenkins as a container on your Kubernetes cluster. With Jenkins in place, you’re now ready to streamline your automation tasks efficiently.
Comments are closed.