
KUBERNETES FUNDAMENTALS
DEPLOYING A SINGLE-NODE KUBERNETES CLUSTER ON AWS
A COMPREHENSIVE GUIDE
Introduction
In Part 1 of our five-part series, we’ve already secured the SSH port and created a key pair. Now, let’s choose the right “ubuntu” Amazon Machine Image (AMI) and select an appropriate EC2 instance type. For our initial configuration, we recommend starting with a “t2.micro” instance.
Part 2
Setting Up Your EC2 Instance
Step 1: Launching an Ubuntu EC2 Instance
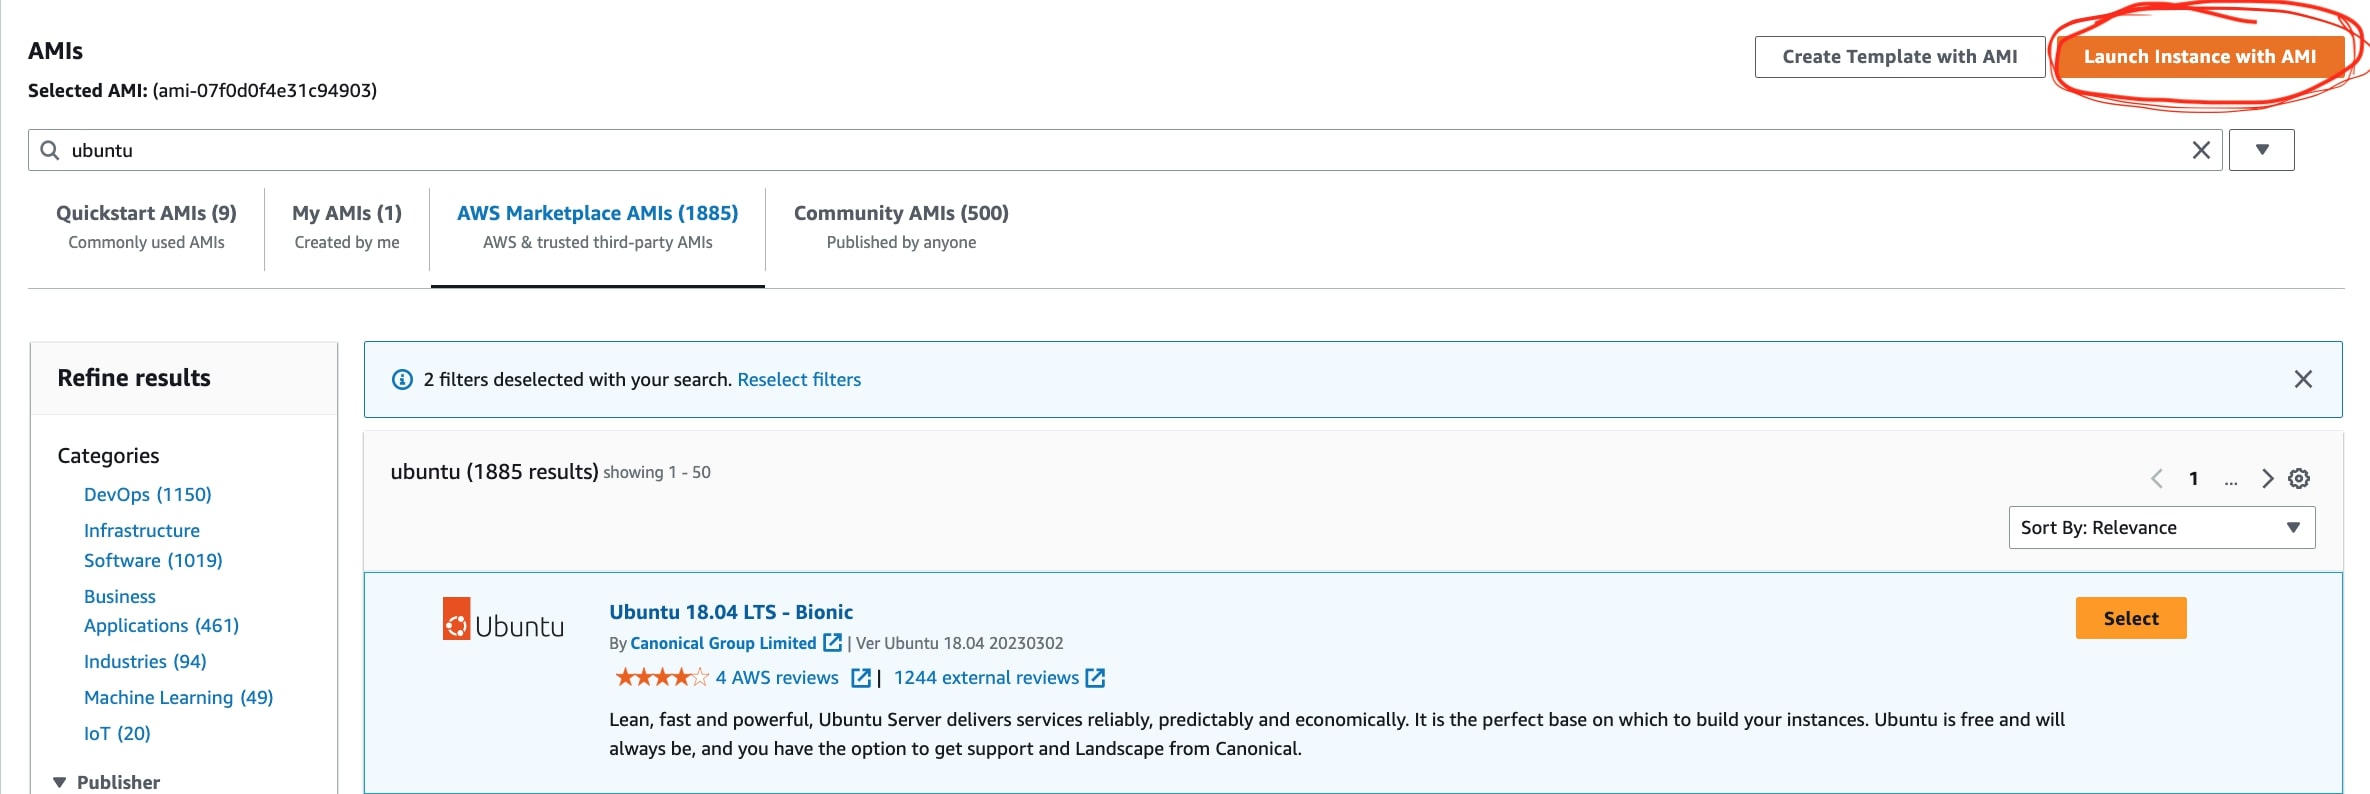
1. Access the EC2 Console:
- Navigate to the EC2 page.
- Click on “Images” in the left tab, then select “AMI Catalog.”
- Search for “ubuntu (x86_64).”
- Choose the “ubuntu 18.04 LTS” AMI (Free Tier).
2. Launch the Instance:
- Click “Continue.”
- On the “Launch an instance” page:
- Name and Tags:
- Name your instance (e.g., “ubuntu-base-os”).
- Application and OS Images (AMI):
- Use the previously selected Ubuntu image.
- Instance Type:
- Choose “t2.micro.”
- Key Pair (Login):
- Select the “jenkins” key pair created earlier.
- Network Settings:
- Use default VPC and subnet settings.
- Enable auto-assign public IP.
- Select the existing security group (“default”) configured with SSH port.
- Configure Storage:
- Set storage to 1 x 10 GiB (io1).
- Advanced Details:
- No additional configurations needed.
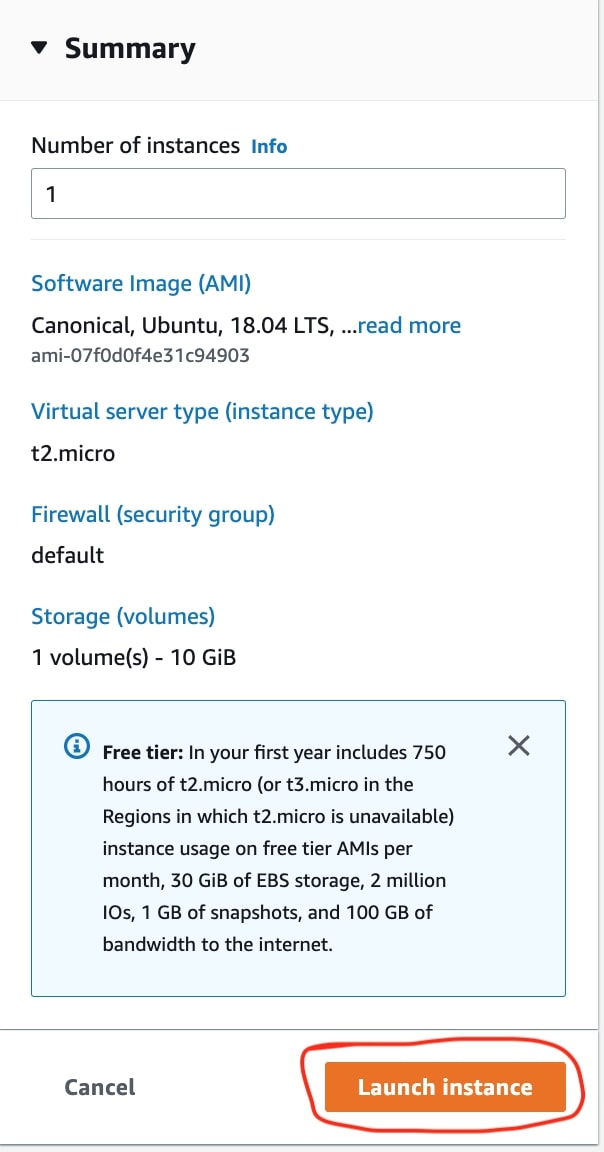
- Summary:
- Review settings and click “Launch instance.”
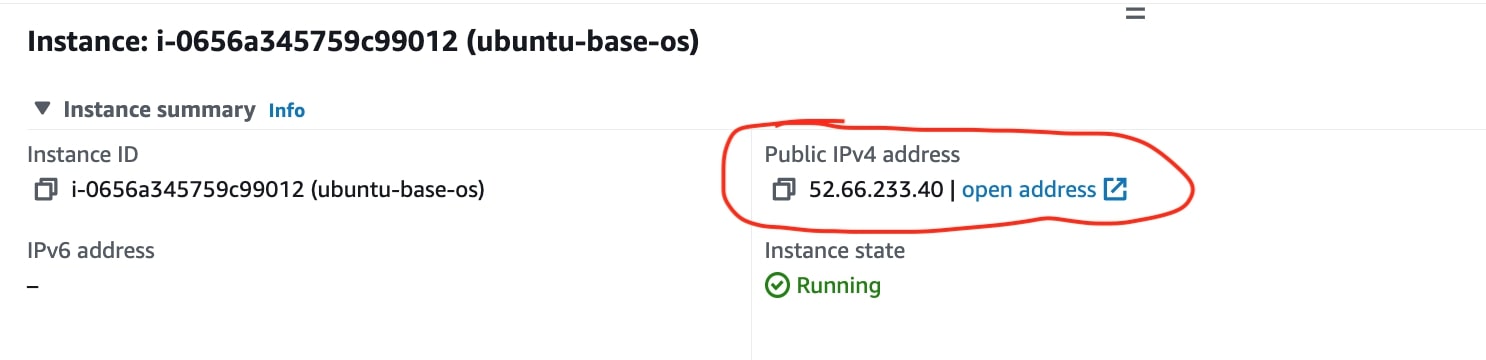
3. Retrieve Public IP:
- Go back to the EC2 page.
- Wait for the instance to be in a running state.
- Note down the public IP address.
4. SSH Login:
- On your local macOS terminal:
- Navigate to the directory where “jenkins.pem” is located.
- Run:
$ chmod 400 jenkins.pem- SSH into the instance:
$ ssh ubuntu@52.66.233.40 -i jenkins.pem
- Type “yes” at the prompt.
- You’re now logged in as the “ubuntu” user.
5. Create User “jenkins”:
- For security reasons, we’ll use a separate user:
$ sudo adduser jenkins
- Follow the prompts to set a password and other details.
Below are the screenshots of the above steps.

Step 2: Creating and Configuring the “jenkins” User
1. Login as Root:
- Open a terminal and run:
$ sudo su
2. Create the “jenkins” User:
- Create the user with a strong password (e.g., “12345678”):
# adduser jenkins
- Provide necessary details or press <enter> for defaults.
3. Set Up SSH Access for “jenkins”:
- Switch to the “jenkins” user:
# sudo su – jenkins
- Create an SSH directory and set permissions:
$ cd ~
$ mkdir .ssh
$ chmod 700 .ssh
- Edit the authorized_keys file (paste your ssh-keygen output from Part 1):
$ vi .ssh/authorized_keysSet permissions for the authorized_keys file:
$ chmod 600 .ssh/authorized_keys
4. Add “jenkins” to Admin Group:
- Exit the EC2 instance.
- Log in as the “jenkins” user:
$ sudo usermod -aG adm jenkins
5. Modify “ubuntu” User’s UID and GID:
- Log in as the “jenkins” user:
$ sudo usermod -u 2000 ubuntu
$ sudo groupmod -g 2000 ubuntu
- Exit and log in again as the “ubuntu” user:
$ sudo usermod -u 1000 jenkins
$ sudo groupmod -g 1000 jenkins
6. Ready for Installation:
- Going forward, perform all installation and configuration tasks using the “jenkins” user.
Step 3: Creating an AMI for the Base OS
1. Create an AMI:
- Navigate to the EC2 page.
- Click on the instance you want to create an AMI from.
- Go to the “Actions” tab, then select “Image and template” > “Create image.”
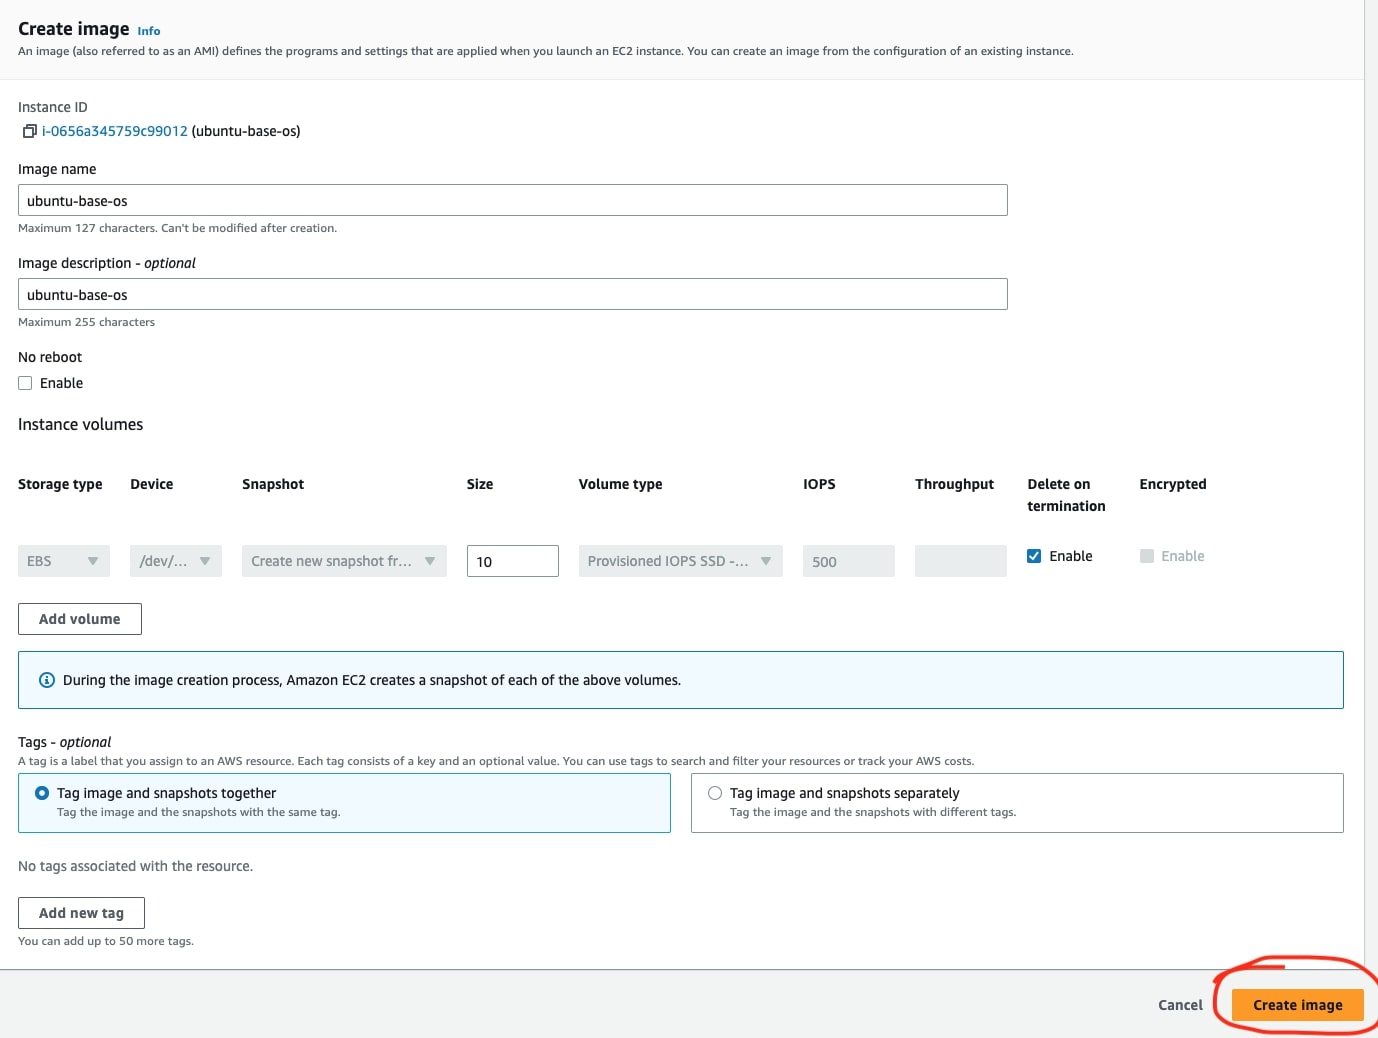
2. Configure the Image:
- In the new window:
- Image Name:
- Provide a suitable name (e.g., “ubuntu-base-image”).
- Image Description:
- Add a brief description (e.g., “Base OS for Ubuntu”).
- Click “Create image.”
3. Completion:
- The process generates an AMI that you can use for future Ubuntu base OS operations.
Below is a screenshot of the AMI creation page.
This completes the UBUNTU base-os installation.
PART 3